How to test a MAF sensor to fix engine problems fast
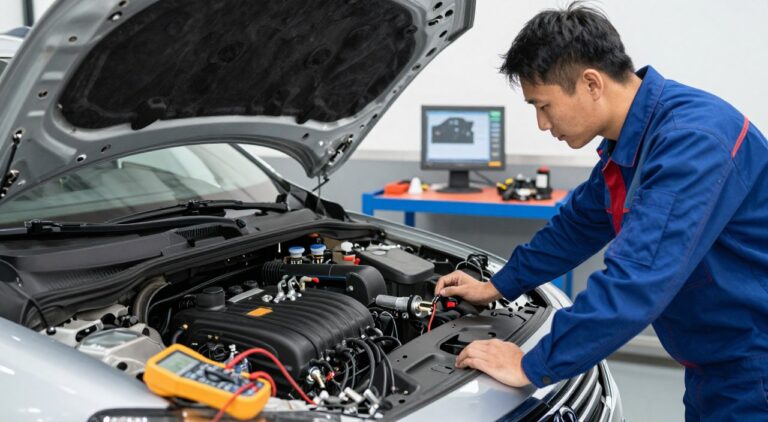
Is your car slow or using too much gas? These problems often come from a dirty air intake part. In this guide, I’ll show you how to find and fix these issues. Learning how to test a MAF sensor is key for DIY car fixes.
By following my steps, you can see if your part is broken or just dirty. I want to help you feel sure when you do these checks at home. Knowing how to do this can make your car run better without costly repairs.
Key Takeaways
- Identify common symptoms of a failing air intake component.
- Save money by performing your own engine diagnostics.
- Learn the difference between a faulty unit and one needing cleaning.
- Follow a safe, step-by-step process for accurate results.
- Improve your vehicle’s fuel efficiency and overall performance.
Understanding the Role of the Mass Air Flow Sensor
I often call the mass air flow sensor the lungs of your car’s engine. It’s a small but key part of your engine management system. It measures how much air goes into the intake manifold.

The sensor sends a signal to the Engine Control Module (ECM) after it gets this data. The ECM then figures out how much fuel is needed for the best burn. Without this, your engine can’t run well.
If the sensor doesn’t work right, you’ll see problems. You might get poor fuel economy, a bad idle, or less power when you speed up. This is because the computer is making guesses instead of using real air intake data.
Knowing how air intake and fuel delivery work is key to fixing engine problems. By understanding the mass air flow sensor‘s role, you can spot issues faster. This makes fixing your car’s problems easier.
Common Symptoms of a Failing MAF Sensor
I’ve learned that watching how my car drives helps catch problems early. When something starts to wear out, it shows in noticeable performance issues. These signs are clear maf sensor symptoms. Spotting them early helps avoid big repairs.
A slow engine when you press the gas pedal is a common sign. You might also find your car stalls a lot at stoplights. Or it might have trouble keeping a steady speed when stopped.

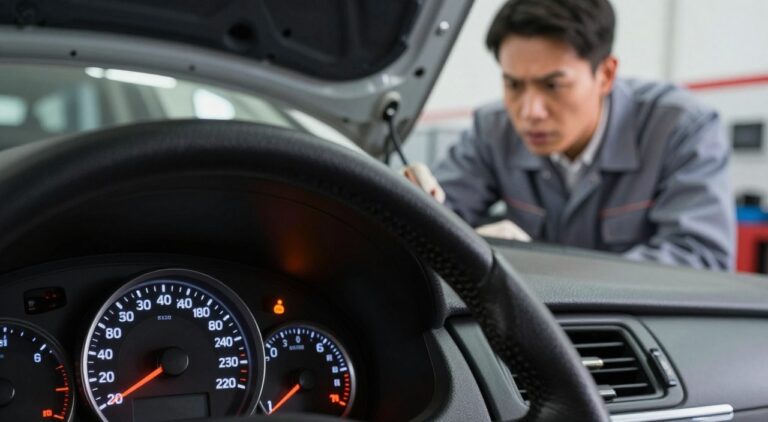
The «Check Engine» light on your dashboard is another warning. It means the computer has found maf sensor problems that need fixing right away. If you ignore it, you could face bad fuel use and harm to your catalytic converter.
«A well-maintained engine is the heartbeat of your vehicle, and listening to its subtle changes is the hallmark of a smart driver.»
You might smell unburnt fuel coming from the exhaust. This means your engine is using too much fuel. By watching for these maf sensor symptoms, you can fix maf sensor problems. This keeps your car running well for a long time.
Safety Precautions Before You Begin
Your safety is the most important thing when you work on your car. Make sure the engine is completely cool to the touch before you start. A hot engine can cause burns and make the job harder.
Always disconnect the negative battery terminal first. This step stops electrical shorts while you work. Protecting your vehicle’s sensitive electronics is as important as protecting yourself.

Wear the right gear to keep yourself safe. Use protective eyewear and durable gloves to avoid debris or chemicals. These items are cheap but very important.
By following these steps, your repair job will be safe and successful. Stay organized and careful to avoid injury and damage. Preparation is the key to a good maintenance job.
Tools Required for Accurate MAF Sensor Testing
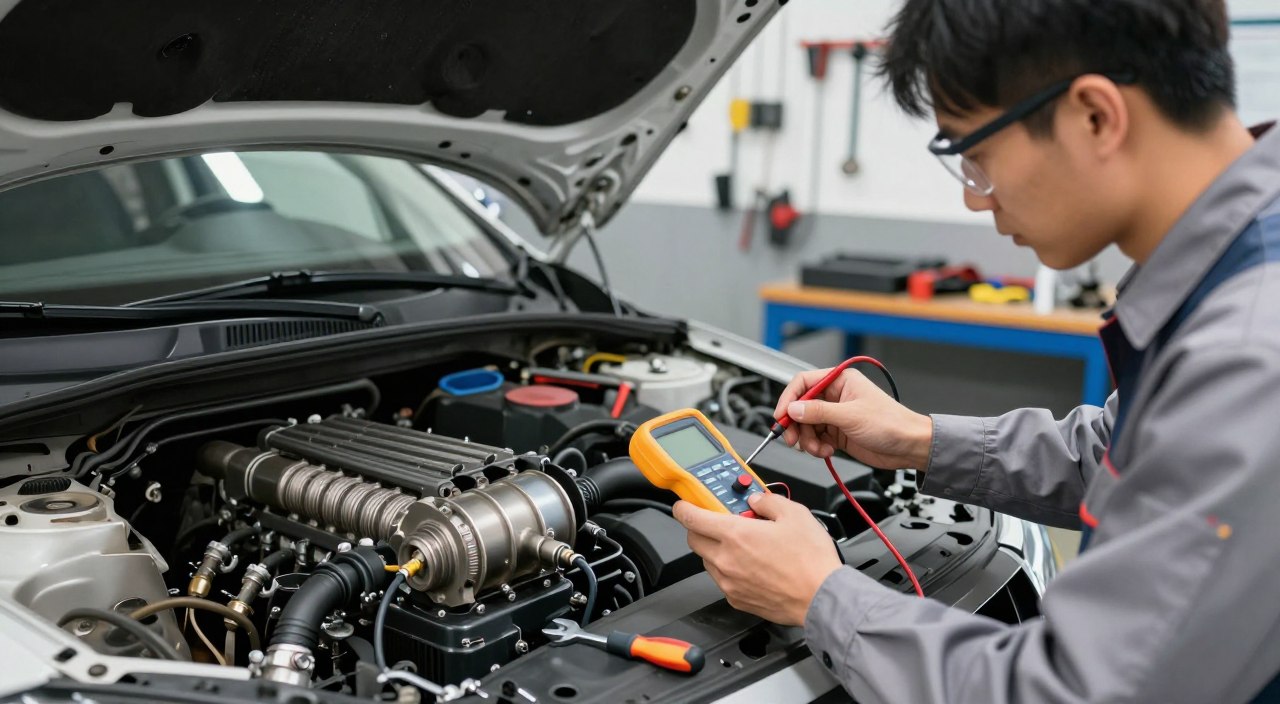
To get professional results, you need the right tools. For maf sensor testing, a digital multimeter is key. It must measure voltage and resistance well.
You also need basic hand tools. Screwdrivers and socket wrenches help you get to the sensor safely. Organization is key, so have everything ready on a clean workbench.

Don’t forget a clean microfiber cloth and a special cleaner for the sensor. The right cleaner keeps the wires safe. Having these tools ready makes your job easier and helps you get professional-grade results during your maf sensor testing.
How to test a MAF sensor using a Digital Multimeter
Using a digital multimeter is the best way to test a mass air flow sensor. It gives me real data to see if it’s working right. Knowing how to test a MAF sensor can save you money and time.
Locating the MAF Sensor Wiring Diagram
I always find the right wiring diagram for my car first. It shows where the power, ground, and signal wires are. Probing the wrong terminal can mess up the sensor.
Measuring Voltage at Idle
Next, I set my multimeter to DC voltage. I check the signal wire while the engine is idling. A good sensor shows a low, steady voltage as in the manual.
Testing Signal Voltage During Acceleration
Then, I watch the voltage as I speed up the engine. I want to see it go up smoothly as air flows in. A sudden drop or a flat signal means the sensor is not working right.
Performing a Visual Inspection of the Sensor Element
Many engine problems come from simple dirt, not fancy electronics. A good maf sensor inspection can find the main issue. It’s wise to check the hardware first to save money and time.
Identifying Contamination on the Hot Wire
The sensor’s heart is a thin wire that feels the air. Dirt, oil, or grime can cover it over time. This makes the sensor send wrong data to the engine, hurting fuel use.
Take off the sensor cover to see the wire. If it looks dirty or fuzzy, clean it. A special cleaner might fix it without needing a new sensor.
Checking for Damaged Electrical Connectors
The wires outside the sensor can also fail. Always check the connector pins for rust or damage. A bad connection can make the sensor seem broken.
Look for green or white powder, which means rust. If the pins are loose, they might not connect well. Keeping these connections clean and tight is key for a good maf sensor inspection.
| Visual Symptom | Potential Cause | Recommended Action |
|---|---|---|
| Dark film on wire | Oil or dust buildup | Use sensor cleaner |
| Green corrosion | Moisture exposure | Clean with contact spray |
| Bent terminal pins | Forced connection | Carefully realign pins |
| Frayed wire insulation | Heat or vibration | Repair or replace harness |
Using an OBD-II Scanner for Diagnostic Data
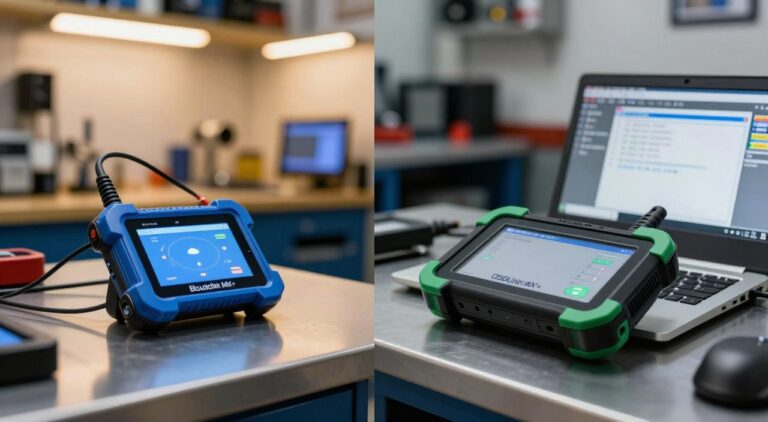
When I need to check engine performance, I use my OBD-II scanner. It’s a very useful tool for a detailed maf sensor check. It lets me see engine data in real-time from the car’s computer.
Reading Live Data Streams
I plug the scanner into the port under the dashboard first. Then, I go to the «Live Data» or «Data Stream» menu on the screen.
I like to watch the data when the engine is running at different speeds. This shows how the sensor works in real driving conditions. Seeing the numbers change helps me spot problems that might not show up right away.
Interpreting Grams Per Second Readings
The airflow rate, in grams per second (GPS), is key. It shows how much air the engine takes in at any time.
At idle, most engines should have a steady, low GPS value. When I speed up the engine, I expect GPS numbers to go up smoothly with the RPMs. Big jumps or staying the same when speeding up means the sensor is not working right.
Cleaning the MAF Sensor as a Potential Fix
When testing shows dirt, cleaning the sensor is a highly effective repair strategy. A dirty sensor often causes bad fuel use and rough idling. Cleaning it can make your engine work better without needing to buy expensive parts.
Selecting the Correct Mass Air Flow Sensor Cleaner
Choosing the right cleaner is very important. Always use a mass air flow sensor cleaner made just for this job. These cleaners evaporate completely, leaving no oily residue on the sensor’s parts.
«Precision is the key to automotive maintenance; using the wrong solvent can permanently damage the sensitive internal circuitry of your sensor.»
Proper Application and Drying Techniques
With the right cleaner, apply it carefully. Spray it gently on the sensor element, but don’t touch the wires. Make sure the sensor dries completely in the air before putting it back in the intake tract.
By following these steps, you avoid damaging the sensor. If you’re not sure about your sensor, use the table below for quick maintenance advice.
| Condition | Recommended Action | Expected Outcome |
|---|---|---|
| Light Dust | Chemical Cleaning | Restored Performance |
| Heavy Carbon | Deep Cleaning | Improved Idle |
| Broken Wire | Full Replacement | System Resolution |
Troubleshooting Wiring and Ground Issues
Sometimes, engine trouble comes from wires, not the sensor. Good maf sensor troubleshooting means checking the wires too. If wires are damaged or corroded, the sensor can’t send the right data.
Testing for Continuity in the Harness
To find wiring breaks, use a digital multimeter in continuity or resistance mode. Disconnect the harness plug from the sensor and the engine control module. Then, check each wire for a clear path for the signal.
If your meter shows infinite resistance or doesn’t beep, you found a broken wire. Fixing these breaks can fix your system without expensive parts. Also, check the connector pins for corrosion or bending.
Verifying the Ground Connection
A good ground is key for the sensor to work right. Use your multimeter in DC voltage mode. Place the black lead on a clean metal part of the chassis.
With the ignition on, touch the red lead to the ground pin on the sensor harness. A reading close to zero volts means a solid ground connection. If it’s higher, the ground wire is loose or corroded. Fixing these issues is part of good maf sensor troubleshooting.
When to Replace Instead of Repair
Cleaning can fix many problems, but not all. Sometimes, you need to replace the sensor. Knowing when to stop and start replacing is key for a good mechanic.
If your multimeter shows no signal, the sensor is broken. Damage to the sensor or its parts means it’s time for a new one. Cleaning won’t fix it.
At this point, get an original equipment manufacturer (OEM) replacement. These parts fit your car perfectly and last long. Aftermarket parts might be cheaper but don’t work as well.
Choosing a good replacement saves you trouble and keeps your engine running right. It stops you from fixing the same problem over and over. By making the right choice, your car will run well for a long time.
Best Practices for Post-Testing Reassembly
Putting your intake parts back together right is key to a great engine. Make sure every bolt is tight and rubber seals fit well. An airtight intake system is vital for good sensor data.
Leaving a vacuum leak makes your engine hard to start or run. Double-check every connection before starting the car. Attention to detail here avoids future problems.
Resetting the Engine Control Module
After fixing the hardware, you must fix the software too. The Engine Control Module (ECM) might have old data or errors. Clearing these codes lets the computer relearn the new air flow patterns.
Here’s how to reset the module:
- Use your OBD-II scanner to clear all stored diagnostic trouble codes.
- Disconnect the negative battery terminal for about 15 minutes to force a hard reset.
- Perform a manufacturer-specific idle relearn procedure if your vehicle requires it.
Verifying the Repair with a Test Drive
The last step is a test drive. Drive for 10 to 15 miles under different conditions. This lets the computer adjust fuel trim based on new data.
Watch for these signs during your drive:
- Smooth acceleration without any hesitation or stumbling.
- A steady idle speed when the vehicle is stopped at a traffic light.
- The absence of the «Check Engine» light on your dashboard.
If your car runs well, you’ve fixed it right. Confidence in your work comes from following the right steps. Your car is now ready to hit the road with better efficiency and reliability.
Conclusion
Fixing your car yourself saves time and money. It also helps you learn more about cars. Keeping your mass air flow sensor in check makes your engine run better.
Try these steps if your car uses more gas or idles rough. Use good tools like a Fluke multimeter or an Autel OBD-II scanner. This keeps your readings right.
Cleaning and checking your sensor often makes it last longer. This stops your engine from stalling. I hope this guide makes you feel like a pro mechanic.
Share your car fixing stories in the forums. Your tips help others fix their cars too. Keep your engine clean for a better drive every day.
FAQ
What are the most common maf sensor symptoms I should look for in my vehicle?
Look out for a Check Engine Light. You might also notice a rough idle or a drop in fuel economy. Engine stalling or hesitation when accelerating are other signs.
Can you explain how to test a maf sensor using a digital multimeter?
Use a Fluke digital multimeter for testing. Back-probe the signal wire with the engine running. Look for a steady voltage at idle, around 0.6 to 0.8 volts.As RPM increases, the voltage should rise smoothly. If it doesn’t, the sensor might be failing.
What specific tools do I need for a comprehensive maf sensor diagnostic?
You’ll need an OBD-II scanner, like Autel or BlueDriver. Also, a digital multimeter, Torx security bits, and CRC Mass Air Flow Sensor Cleaner. These tools help with electrical tests and physical inspections.
How does a visual maf sensor inspection help in troubleshooting?
A visual inspection is key. Remove the sensor to check the «hot wire» for contaminants. Dust, oil, or debris can prevent the sensor from working right.
What are the steps for a successful mass air flow sensor diagnosis using an OBD-II scanner?
Look at the «Grams per Second» (GPS) reading on your scanner. A healthy engine should show about 1 gram per second for every liter of engine displacement at idle. For example, a Ford F-150 with a 5.0L engine should read around 5 g/s.If the readings are far off, you’ve found the problem.
Is it always necessary to replace the unit, or can I perform maf sensor troubleshooting on the wiring?
Always check the wiring first. Test for 12 volts of power and a solid ground at the sensor’s connector harness. A frayed wire or corroded ground can be the issue.If the wiring is good but the sensor still fails, replace it with a reputable brand like Delphi or Hitachi.