Sweet smelling pink fluid leak causes and solutions
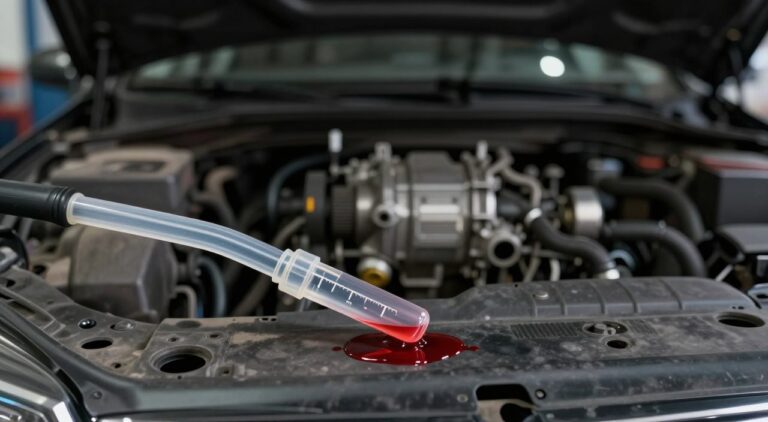
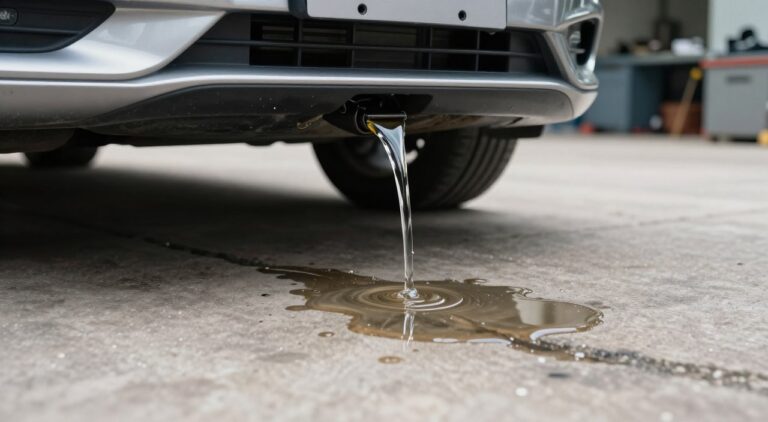
Finding a puddle under your car is never good. When I see a sweet smelling pink fluid leak, I know it’s a warning. It means your car’s cooling system needs help fast.
Spotting this problem early is very important. It helps stop big engine damage. If you ignore it, your car might overheat and cost a lot to fix.
In this guide, I’ll show you how to find and fix the issue safely. By doing this, you can save money and learn more about your car.
Key Takeaways
- A sugary scent and bright color usually point to a cooling system failure.
- Early detection is essential to avoid expensive engine repairs.
- Safety should always be your priority when inspecting under the hood.
- Regular maintenance helps prevent unexpected roadside breakdowns.
- You can perform basic diagnostic checks without needing advanced tools.
Understanding the nature of a sweet smelling pink fluid leak
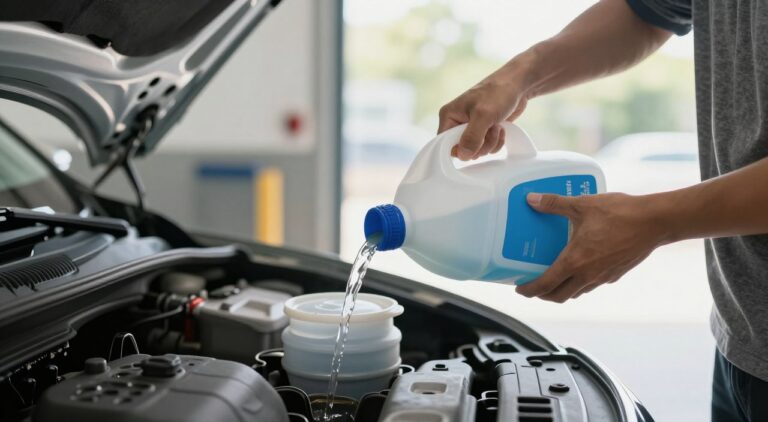
Seeing a sweet smelling pink fluid leak means your car is losing coolant. Coolant keeps your engine at the right temperature. Spotting this early helps fix it before it gets worse.

Why engine coolant has a distinct scent and color
Car makers add special dyes to coolant. This makes leaks easy to see. Without these additives, finding leaks is hard for most people.
The sweet smell comes from the coolant’s chemicals. It smells like syrup or candy. This smell can attract pets and animals. So, clean up spills right away to keep everyone safe.
The chemical composition of modern antifreeze
Today’s antifreeze has ethylene glycol or propylene glycol. These help move heat well. They also have additives to stop rust and scale.
New coolants last longer and protect better. They have special technology. This makes them better than old coolants.
- Enhanced thermal stability for high-performance engines.
- Extended service intervals to reduce maintenance frequency.
- Advanced corrosion inhibitors that prevent internal system degradation.
Knowing about these coolants helps you fix leaks better. If you see a sweet smelling pink fluid leak, it’s a sign you need help.
Safety precautions before inspecting your vehicle
Your safety is key when starting automotive fluid leak detection. First, I park the car on a flat surface and use the parking brake. This keeps the car from moving while I work under the hood.

Protecting yourself from hot engine components
Cooling systems in cars can get very hot. They can go over 200 degrees Fahrenheit. I never open the radiator cap or touch the hoses when the engine is hot.
Waiting for the engine to cool down is the safest way. This avoids burns from steam or boiling liquid.
If I’m in a rush, I check the temperature gauge or touch the hood. I keep my face away from the radiator cap. Wearing thick gloves helps protect me from hot metal.
Handling toxic automotive fluids safely
Antifreeze is very dangerous and can harm people and pets if they drink it. It smells sweet, which can attract pets. I keep kids and pets away from spills during automotive fluid leak detection.
I wear safety glasses to protect my eyes from splashes. If I spill fluid, I clean it up fast. These simple steps help me work safely without harming myself or others.
Step one: Locating the source of the leak
I start by looking where the liquid pools on the ground. This helps me find hidden issues that could cause the engine to overheat.
Using the cardboard test to pinpoint the drip
I place a clean, large piece of cardboard under the engine bay overnight. This trick shows me where the fluid drips. In the morning, I can see where the spots are. This helps me find the leak’s general area.

Inspecting the radiator and cooling hoses
After finding the leak’s area, I check the radiator and hoses. I look for swelling, brittleness, or wetness. These signs mean a part might fail soon.
Checking hose clamps for signs of corrosion
I also check the metal hose clamps for rust or corrosion. If I see it, the clamp might not seal well anymore. Replacing these parts stops more coolant loss.
Identifying hairline cracks in plastic reservoirs
The plastic coolant tank often fails in older cars. I look for tiny cracks that leak when pressurized. If it’s discolored or feels brittle, it needs to be replaced.
«A well-maintained cooling system is the heartbeat of your engine’s longevity; never ignore the early warning signs of a minor drip.»
— Automotive Maintenance Expert
| Component | Common Symptom | Severity |
|---|---|---|
| Rubber Hoses | Swelling or Cracks | High |
| Hose Clamps | Visible Corrosion | Medium |
| Plastic Reservoir | Hairline Fractures | High |
| Radiator Core | Green/Pink Staining | Critical |
By following these steps, you can find and fix leaks. This keeps your car running well. Inspecting these parts now saves you money later.
Step two: Evaluating the cooling system components
Identifying a car fluid leak needs a careful check. Look at the parts that hold pressurized coolant. This helps find the real problem and saves money.
Examining the water pump for seal failure
The water pump often leaks pink fluid because of worn seals. Look at the weep hole for signs of leaks. This hole lets fluid out if the seal breaks.
Seeing pink residue or droplets near the weep hole means trouble. You should replace the pump right away. Waiting can cause the engine to overheat and get damaged.

Inspecting the heater core for interior leaks
The heater core is hidden behind the dashboard. It heats your car. Leaks here can be hard to spot.
Signs of a leaking heater core inside the cabin
Notice strange smells or fog on the windshield? These signs mean the heater core might be leaking. It needs a pro to fix it.
- A sweet smell when you turn on the heater.
- Fog or a greasy film on the windshield.
- Damp spots on the floor mat.
Don’t ignore these signs. A leaky heater core can harm your car’s interior and electronics.
Step three: Diagnosing common cooling system failures
A pink fluid leak diagnosis often points to small parts that fail quietly. While big parts like the water pump are often blamed, small parts can also cause big problems. Checking these small items first can save you a lot of time and money.
Testing the radiator cap for pressure retention
The radiator cap is more than just a lid. It’s a key part that keeps the system at the right pressure. If it fails, coolant can leak out, leaving pink marks.
Do a quick check to see if the cap is the problem. Look for signs like:
- Cracks or tears in the rubber gasket seal.
- Hardened or flattened rubber that no longer feels pliable.
- Visible debris or corrosion around the sealing surface.
- White or pink crusty deposits on the radiator neck.
Identifying thermostat housing gasket leaks
The thermostat housing is another common leak source. Over time, the gasket can shrink or crack from heat. This leak is slow, so you might only see a small pool of fluid near the engine.
Use a bright flashlight to check the seam where the housing meets the engine. If you see dampness or staining, the gasket is failing. Replacing this gasket is usually the best fix to stop the leak.
Step four: Preparing for the repair process
Getting ready is key for a good car fix. I pay close attention to details before starting. This helps me avoid mistakes when detecting car leaks and fixing them.
Setting up my workspace right makes everything run smoothly. It keeps the area clean and efficient.
Gathering the necessary tools and replacement parts
I make sure I have everything I need before starting. I grab a sturdy drain pan, pliers, and a good screwdriver set. It’s important to have the right parts for my car to avoid delays.
I check that I have the right coolant for my car. The wrong coolant can cause more problems. Organization is key to avoid spills and missing parts.
Draining the cooling system properly
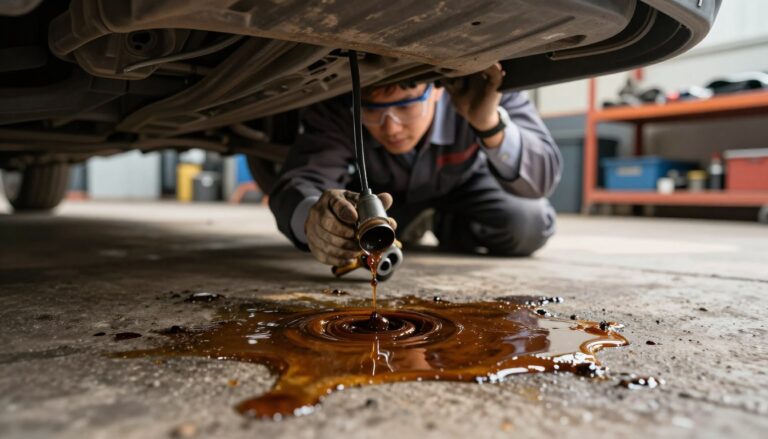
Draining the cooling system needs careful steps. I look at my car’s manual to find the right spot to drain. This keeps the mess down and makes it safer.
I put my drain pan under the radiator to catch the fluid. This step is crucial for preventing environmental contamination and keeping me safe. By following these steps, I make sure my car fix is done right.
Step five: Executing the repair for hose and clamp issues
Replacing worn radiator hoses is key for automotive fluid leak repair. Rubber hoses wear out from heat, leading to cracks. This can cause the cooling system to fail.
Removing damaged radiator hoses
When I take out old hoses, I’m very careful. I don’t want to damage the plastic inlets or engine connections. These parts can be brittle from heat.
I use a hose pick tool to gently remove the old hose. This way, I avoid pulling too hard. If a hose seems stuck, I carefully cut it with a knife. This helps keep the system working well.
«The longevity of a cooling system repair depends entirely on the quality of the seal and the condition of the connection points.»
Installing new clamps and ensuring a tight seal
After putting in the new hose, I focus on the clamps. I use stainless steel or spring clamps, depending on the design. It’s important to place the clamp right to keep it in place.
I make sure the clamp is tightened evenly. This prevents leaks. A good clamp keeps the system working under engine heat.
| Clamp Type | Best Use Case | Durability |
|---|---|---|
| Worm-Gear | General purpose | High |
| Spring-Tension | Factory replacements | Excellent |
| T-Bolt | High-pressure systems | Superior |
By following these steps, I can fix the cooling system. Checking each connection is key to avoiding leaks again.
Step six: Replacing major cooling system components
When small fixes don’t work, it’s time for big changes. Replacing parts like the water pump or expansion tank is key. These parts keep coolant flowing right and stop the engine from overheating.
Replacing a faulty water pump
The water pump keeps the engine cool. If it breaks, it leaks. First, I drain the coolant to avoid spills.
Then, I remove the belts and pulleys. Next, I take out the pump housing.
Precision is key here. I clean the engine block well. Then, I put on a new gasket with special sealant for a leak-free seal.
Swapping out a cracked coolant expansion tank
Plastic tanks can crack over time. This fix is simple but needs care. I disconnect the hoses and remove the tank.
Before putting in the new tank, I check the mounts. I use the right clamps to avoid leaks. Then, I make sure the cap seals well to keep the system at the right pressure.
| Component | Common Failure Sign | Repair Urgency |
|---|---|---|
| Water Pump | Coolant puddle near belts | High |
| Expansion Tank | Visible plastic cracks | Medium |
| Radiator Hose | Soft or bulging rubber | High |
Fixing this right keeps your engine safe. Always check your work before adding coolant. Make sure every bolt is tightened right.
Step seven: Refilling and bleeding the cooling system
After fixing things, you need to refill and bleed the system. This step is key for keeping your car running right. It helps avoid problems later on.
Selecting the correct coolant type for your vehicle
Picking the right coolant is very important. Always check your car’s manual for the right type. The wrong coolant can harm your car’s parts.
Think about these things when picking coolant:
- Compatibility: Make sure it meets the ASTM standards in your manual.
- Concentration: Most cars need a 50/50 mix of water and antifreeze.
- Color: Stick to the color your car’s maker suggests.
Removing air pockets to prevent overheating
After adding coolant, get rid of air pockets. Air can cause your car to overheat. This is a big part of keeping your car safe.
Here’s how to get rid of air pockets:
- Start the engine without the cap on.
- Turn the heater to the highest setting.
- Watch the coolant level as it warms up. Add more as air bubbles go away.
- Put the cap back on when the fluid level stops changing.
Being consistent is important when you’re done fixing things. Check the coolant level after a few drives. This way, you keep your cooling system working well for a long time.
Professional automotive leak detection services
Even the best car owners can miss a cooling system problem. If you can’t find the leak, it’s time for automotive leak detection services. This helps avoid engine damage.
When to seek help from a certified mechanic
Knowing when to ask for help is smart. If you can’t find a leak, a mechanic can. They have the right tools and know-how.
Look for signs like a rising engine temperature gauge or needing to add coolant often. Ignoring these signs can cause big engine problems. This is more costly than a mechanic’s fee.
«A stitch in time saves nine, when it comes to car cooling systems.»
Utilizing UV dye for hard-to-find leaks
UV dye is a top tool for finding leaks. It’s added to the cooling system and mixes with the antifreeze.
After the engine runs a bit, a blacklight shows the dye’s glow. This highlights even tiny leaks that are hard to see.
| Diagnostic Method | Effectiveness | Cost Level |
|---|---|---|
| Visual Inspection | Low | Free |
| Pressure Testing | Medium | Moderate |
| UV Dye Detection | High | Moderate |
| Thermal Imaging | High | High |
These tools save you time and stress. You won’t guess which part is leaking. Instead, you get a clear answer for fixing it right.
Conclusion
Handling a sweet smelling pink fluid leak needs a proactive approach. Knowing your car’s cooling system is key to avoiding big problems.
Regular checks help your engine run smoothly. This saves money by fixing small issues early. Shops like Firestone or Jiffy Lube can help.
Be alert during your car checks. A quick look under your car can spot trouble early. This avoids dashboard warning lights.
Looking after your car brings peace of mind. You can now spot and fix a sweet smelling pink fluid leak confidently.
Regular care keeps your car running well for a long time. Keep your cooling system in good shape. This ensures your car stays reliable for many miles.
FAQ
What should I do if I notice a sweet smelling pink fluid leak under my vehicle?
If I see a sweet smelling pink fluid leak, I know it’s a cooling system problem. The smell comes from ethylene glycol, which is good for keeping the engine cool. First, I check the coolant levels and look for drips near the radiator or water pump.I don’t drive the car if the leak is bad to avoid engine damage.
How can I accurately perform car fluid leak identification at home?
I use the cardboard test to find leaks. I put cardboard under the engine at night. In the morning, pink spots show me where the leak is.This trick helps me find the problem fast and explains it to mechanics if needed.
Why is the coolant in my car pink instead of the traditional green?
Cars like Toyota and Volkswagen use pink coolant. It’s made to last longer and protect aluminum parts. The pink color helps me spot leaks easily.
Is it safe to inspect a sweet smelling pink fluid leak while the engine is hot?
I never check the cooling system when it’s hot. Coolant can be very hot and burn me. I wait at least an hour for it to cool down.I also wear gloves and keep pets away to stay safe.
When should I seek professional automotive fluid leak detection?
If I can’t find the leak myself, I go to a mechanic. Places like AAMCO use special dye to find leaks. This makes even small problems easy to see.
What are the most common causes of a pink fluid leak?
Leaks often come from bad hoses, loose clamps, or a failing water pump seal. I also check the coolant tank for cracks. If I smell it inside, the heater core might be the problem.
Why is «bleeding» the system necessary after fixing a leak?
After fixing a leak, I need to remove air from the system. This is called «bleeding.» It makes sure the engine doesn’t overheat. I follow my manual to do this right.