How Often to Change Brake Fluid and Why It Matters
Keeping your car in good shape starts with the hydraulic system. Your safety on the road depends on stopping quickly. Many drivers forget, but knowing how often to change brake fluid is key.
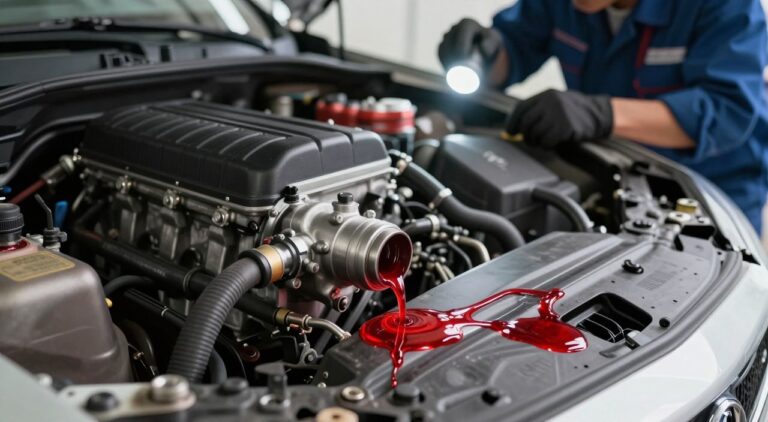
Brake fluid is like special oil that works under high pressure. It gets wet from the air and breaks down from heat. This can make your brakes feel soft and weak.
I want to help you stay safe from bad brake fluid. Learning when to change brake fluid keeps your car running well. It stops big problems and keeps everyone safe on trips.
Understanding the Role of Brake Fluid in Your Vehicle
Brake fluid is like the heart of a car’s safety. Without it, pressing the brake pedal won’t stop the car.
Keeping the brake fluid in good shape is key for stopping well in any situation. If I ignore it, I risk my car’s safety.
The Hydraulic Braking System Explained
The hydraulic system uses pressurized fluid to connect the brake pedal to the brakes. When I press the pedal, fluid moves through the lines.
This fluid pressure pushes the brake pads against the rotors. Liquids don’t compress, so this happens almost instantly. This lets me control my car’s speed well.

Why Brake Fluid is Hygroscopic
Brake fluid is hygroscopic, meaning it pulls in water. This happens over time, even if the system is closed.
Moisture can get in through hoses or the cap. As the fluid gets older, it holds more water. This affects how well it works.
The Dangers of Boiling Point Degradation
Water in the fluid lowers its boiling point. This might not seem bad at first. But heavy braking makes the fluid very hot.
When it gets hot, water turns to steam. This creates bubbles in the lines, called vapor lock. My brake pedal feels soft or goes all the way down. This makes stopping very hard when I need it most.
Determining How Often to Change Brake Fluid
Figuring out when to change brake fluid isn’t just about time. It also depends on where and how you drive. The optimal brake fluid changing period can change based on your driving environment.
Manufacturer Recommendations vs. Real-World Driving
Car makers usually say to change brake fluid every two to three years. But, this advice is for perfect driving conditions. If you drive in harsh weather or heavy traffic, you might need to change it more often.

Factors That Influence Fluid Longevity
Many things can make your brake fluid go bad faster. Knowing these can help you figure out how often to change brake fluid to keep your car safe.
Stop-and-Go City Driving
Driving in heavy traffic makes your brakes hot. This heat makes the fluid absorb moisture quickly. If you drive in the city a lot, check your brake fluid more often.
Mountainous Terrain and Heavy Braking
Driving up steep hills makes your brakes work hard. This heat can break down the fluid fast. So, it’s important to know when to change brake fluid after driving in hilly areas.
| Driving Condition | Typical Interval | Risk Level |
|---|---|---|
| Highway/Commuter | 36 Months | Low |
| Urban/City Traffic | 24 Months | Moderate |
| Mountain/Heavy Load | 12-18 Months | High |
Recognizing the Signs of Contaminated Fluid
Watch for signs of bad brake fluid too. Good fluid is clear or light yellow. Bad fluid looks dark, murky, or brown. A spongy brake pedal or slow brakes mean the fluid is bad.
Essential Tools and Safety Precautions
Starting brake fluid maintenance is easy. First, get a good maintenance kit. The right tools make the job safe and quick.
Gathering Your Maintenance Kit
Before you start, get a few things. You need a wrench for your car’s valves, clear tubing, and a clean container.
The clear hose lets you see the fluid flow. It also shows air bubbles. A clean container keeps your area tidy and prevents spills.

Safety Gear and Fluid Handling
Working with brake fluid is very careful. Always wear nitrile gloves and safety glasses. This keeps you safe from the fluid.
Brake fluid is very toxic. It can hurt your skin and eyes. Work in a place with good air to avoid breathing in fumes.
Protecting Your Paint and Skin
Brake fluid harms car paint a lot. If you spill it, clean it up fast with water and a cloth.
These steps keep your car’s paint safe. Also, have water ready to clean up spills or skin contact.
Proper Disposal of Used Brake Fluid
After brake fluid maintenance, dispose of it right. Don’t throw it down the drain or on the ground. It’s bad for water.
Put used fluid in a sealed container. Then, take it to a certified recycling center or an auto parts store. This is a key step for a responsible car owner.
Step-by-Step Guide to Inspecting Your Brake Fluid
Checking your vehicle brake fluid regularly is very important. It helps avoid expensive repairs and keeps your car safe. This easy task can spot problems early, making the roads safer.

Locating the Brake Fluid Reservoir
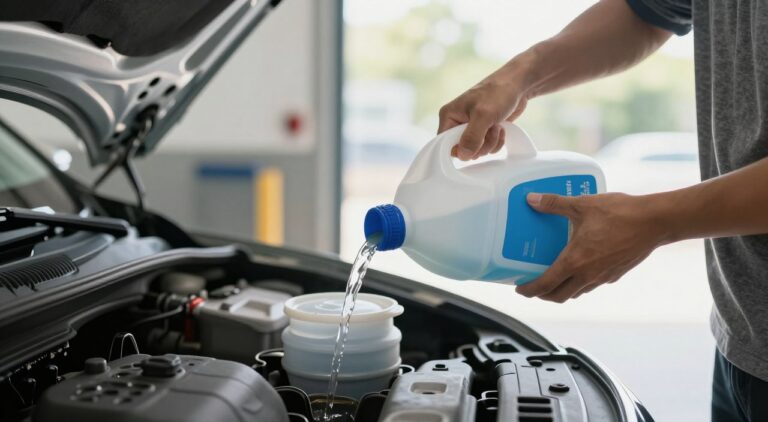
First, open the hood and find the master cylinder reservoir. It’s on the driver’s side, near the engine. The reservoir is clear plastic, so you can see the fluid inside.
Make sure your car is on flat ground before checking the fluid. If it’s low, it might mean worn brake pads or a leak. Always check your owner’s manual for your car’s specific spot.
Visual Inspection of Fluid Color and Clarity
After finding the reservoir, look at the fluid’s color. Fresh brake fluid is clear or light yellow, like vegetable oil. If it’s dark or murky, it’s bad.
Dark fluid means it’s dirty or has water in it. Seeing this means you need to clean the system right away. A good vehicle brake fluid inspection checks for these signs.
Using a Brake Fluid Moisture Tester
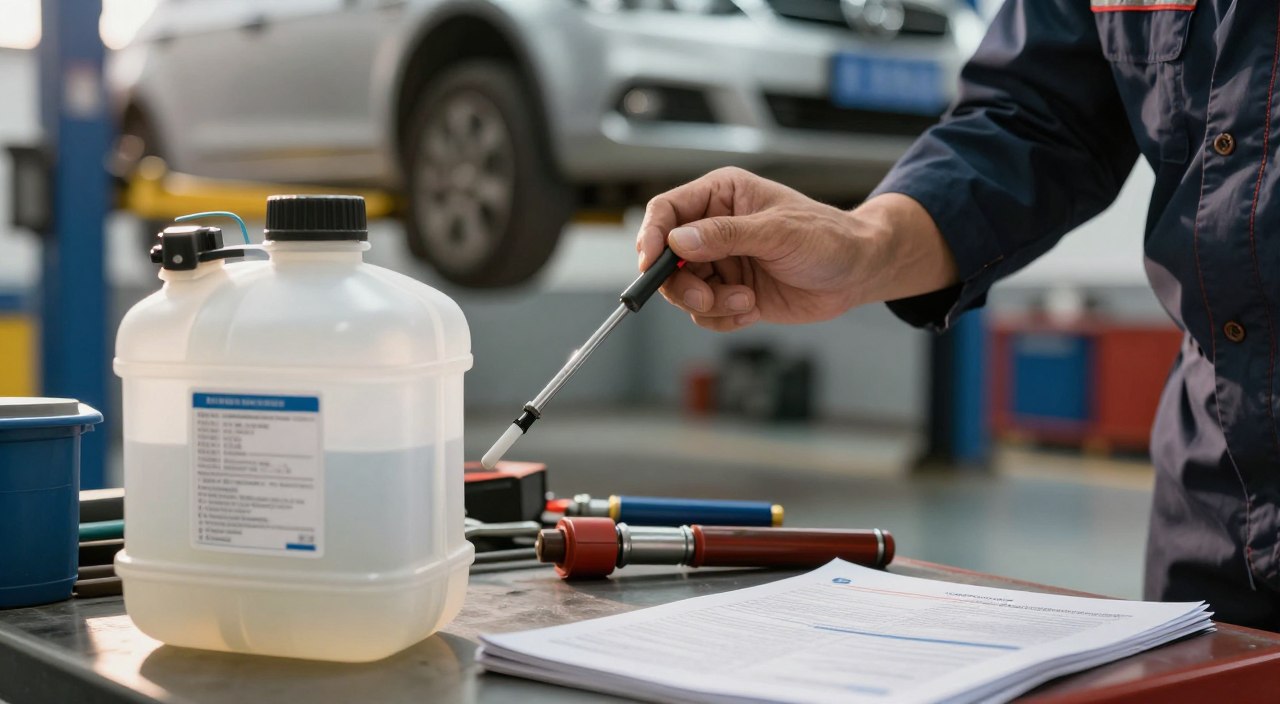
Visual checks are good, but they don’t show everything. I use a moisture tester to find out how much water is in the fluid. Just dip the probe in and see the reading.
Brake fluid absorbs water, which can make it boil too soon. This can cause brakes to fail when you need them most. Here’s what the tester results mean:
| Moisture Level | Fluid Status | Recommended Action |
|---|---|---|
| 0% – 1% | Excellent | No action needed |
| 2% | Fair | Monitor closely |
| 3% or higher | Poor | Flush system immediately |
With these tools, I can keep my vehicle brake fluid inspection up to date. This keeps my brakes working well, no matter where I drive.
Preparing for the Brake Fluid Flush
Flushing your brake lines starts before you open the first bleeder valve. Organizing your workspace helps avoid mistakes. Proper preparation is key for a safe and effective job.
Selecting the Correct Fluid Type
Always use the brake fluid type your car maker says is right. The wrong fluid can harm your car or make brakes fail. Check your car’s manual or the brake fluid cap to see what you need.
Understanding DOT 3, DOT 4, and DOT 5.1
These fluids are different because of their boiling points and what they’re made of. DOT 3 is common, DOT 4 is for tougher conditions, and DOT 5.1 is for the best performance but needs care.
| Fluid Type | Dry Boiling Point | Compatibility |
| DOT 3 | 401°F | Compatible with DOT 4 |
| DOT 4 | 446°F | Compatible with DOT 3 |
| DOT 5.1 | 500°F | Do not mix with others |
Lifting and Securing the Vehicle Safely
To get to all four wheels, lift your car with a good floor jack. Never work under a vehicle supported only by a jack. Use sturdy jack stands at the right spots.
After lifting, shake the car to make sure it’s stable. This lets you reach the brakes easily. Safety is always my first concern when working under a car.
Accessing the Bleeder Valves
The bleeder valves are on the back of brake calipers or wheel cylinders. They’re covered by rubber caps to keep out dirt and water. Remove these caps and clean the area with a wire brush before starting.
Cleaning the valves keeps out debris when you open them. If a valve is rusted, a bit of penetrating oil can help. Taking these extra minutes to get the valves ready makes the flush go smoothly.
Executing the Brake Fluid Replacement Process
I will show you how to do a car brake fluid renewal at home. This step-by-step guide helps keep your brakes working well. It keeps your car safe and running smoothly.
Step 1: Removing Old Fluid from the Reservoir
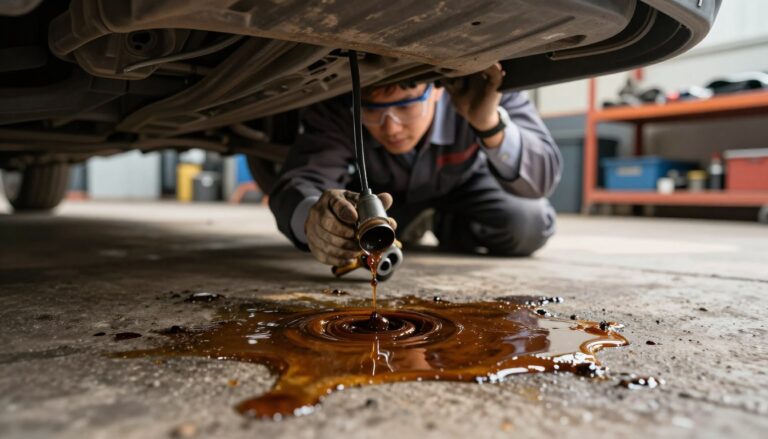
First, I remove the old fluid from the master cylinder reservoir. I use a clean turkey baster or a fluid syringe to get as much old fluid out as I can.
Be careful not to spill any fluid on your car’s paint. It can damage it. Once the reservoir is almost empty, I clean it with a lint-free cloth to remove any dirt or sediment.
Step 2: Filling the System with Fresh Fluid
After cleaning the reservoir, I fill it up with the right brake fluid. It’s very important to keep the reservoir full during the whole car brake fluid renewal process.
Never let the master cylinder run dry during the bleeding process. If air gets in the system, you’ll have to start all over again.
Step 3: The Manual Bleeding Sequence
To do a proper car brake fluid renewal, you need someone to help. They press the brake pedal while you work the bleeder valves. This way, all old fluid and air bubbles are removed from the lines.
Starting from the Furthest Wheel
I start by bleeding the wheel farthest from the master cylinder. Usually, this is the passenger-side rear wheel. This makes sure the longest part of the system is cleaned first.
Working Toward the Master Cylinder
After the furthest wheel, I move to the other rear wheel, then the front passenger side, and lastly the driver-side front wheel. This order helps me get closer to the master cylinder step by step.
- Step A: Have your partner pump the brake pedal several times and hold it down.
- Step B: Open the bleeder valve to release fluid and air, then close it quickly.
- Step C: Keep doing this until you see clear, fresh fluid without air bubbles.
Troubleshooting Common Issues During Maintenance
Preparation is key, but knowing how to handle maintenance hiccups is also important. Even with careful planning, unexpected challenges can pop up. Fixing these issues early saves time and reduces frustration.
Dealing with Air in the Brake Lines
If air gets into the brake lines, you’ll see it right away when you test the pedal. Air makes it hard for the hydraulic pressure to reach the calipers. Don’t worry, it’s a common mistake that’s easy to fix.
To get rid of the air, you need to bleed the system again. Start from the farthest wheel from the master cylinder and work your way closer. This way, you make sure all air is out of the lines.
Handling Stuck or Seized Bleeder Screws
A stuck bleeder screw can be a big problem. But don’t use a standard wrench to try to force it. The wrong tool can damage the bolt head, making it even harder to remove. Always use a six-point flare-nut wrench for the best grip.
If the screw won’t move, try using high-quality penetrating oil for at least fifteen minutes. A gentle tap with a hammer might help too. But don’t use too much force to avoid breaking the valve.
What to Do If the Brake Pedal Feels Spongy
If your brake pedal feels soft after bleeding, there might be a mechanical problem. A soft pedal can mean air is still in there, or it could be a failing master cylinder. If the pedal slowly goes down while you press it, the master cylinder’s seals are probably worn out.
In some cars, the ABS module can trap air that’s hard to get out with manual bleeding. You might need a special scan tool to cycle the ABS pump and clear the air. If you think the module or master cylinder is bad, it’s best to get a pro to check it for your safety.
| Symptom | Likely Cause | Recommended Action |
|---|---|---|
| Spongy Pedal | Air in lines | Repeat bleeding sequence |
| Seized Screw | Corrosion | Use penetrating oil |
| Sinking Pedal | Master cylinder leak | Inspect or replace unit |
| ABS Warning Light | Trapped air in pump | Use diagnostic scan tool |
Professional Service vs. DIY Maintenance
Many drivers wonder if they should do brake fluid maintenance themselves or get a pro. Doing it yourself can save money. But, you need to be very good with tools and know what you’re doing.
When to Visit a Certified Mechanic
Go to a certified mechanic if you don’t have the right tools. They use special tools to make sure the brakes work well. If you have stuck screws or complex parts, a pro can fix it safely.
Cost Comparison and Time Investment
It’s important to think about the cost and time when doing brake fluid maintenance. DIY might save money upfront. But, you have to pay for good fluid, tools, and your time. Here’s a table to show the differences.
| Feature | DIY Maintenance | Professional Service |
|---|---|---|
| Initial Cost | Low (Tools + Fluid) | Higher (Labor + Parts) |
| Time Required | 2–4 Hours | 1–2 Hours |
| Equipment | Basic Hand Tools | Advanced Pressure Bleeders |
| Expertise | Self-Taught | Certified Technician |
The Value of a Professional Brake System Inspection
A pro shop does more than just change the fluid. They check the brake pads and rotors for damage. This holistic approach keeps your brakes safe and reliable. Getting a pro to inspect your brakes is worth it to avoid expensive repairs later.
Conclusion
Keeping your car in good shape is key. Regular care helps your car last longer and work better. This makes every stop smooth and safe.
Brake fluid care is very important for drivers. It might seem hard, but learning it makes you safer. You get to control your safety on the road.
By taking care of your brake fluid, you avoid big repair costs. This keeps your brakes working well for a long time.
Remember, your brakes are very important. They keep you safe. Taking care of them means your car will always be ready for you.
Keep track of your car’s maintenance. Watch how your brakes feel. Your hard work makes driving safer for everyone.
FAQ
How often to change brake fluid in a standard passenger vehicle?
Most car makers say to change brake fluid every two to three years. But, always check your car’s manual. Some cars need brake fluid changed more often.
What are the most common signs for when to change brake fluid?
Look for a soft brake pedal or dark brake fluid. These signs mean it’s time to change the brake fluid. Old fluid can make your brakes less effective.
Why is the hygroscopic nature of the fluid important for brake fluid replacement intervals?
Brake fluid pulls in moisture from the air. Even a little water can cause problems. So, changing brake fluid regularly is key to safe driving.
Can I use any type of fluid for a car brake fluid renewal?
No, you must use the right brake fluid type. Always use the DOT rating your car’s manual says. The wrong fluid can harm your car’s brakes.
What tools do I need to follow a proper brake fluid service schedule at home?
You’ll need a flare-nut wrench, a clear hose, a catch container, and new brake fluid. An electronic moisture tester is also helpful. It shows if there’s water in the fluid.
What is the correct sequence for bleeding the system during a brake fluid change?
Start bleeding from the farthest wheel from the master cylinder. Move towards the closest wheel. This method makes sure there’s no air in the lines.
Is it better to perform a vehicle brake fluid inspection myself or visit a professional?
DIY can save money, but pros use better tools. Shops like Pep Boys do a deeper flush. They also check your brakes for safety.
How should I handle the disposal of old fluid after a brake fluid change?
Don’t throw used brake fluid away or down the drain. Put it in a sealed container. Then, take it to a recycling center or AutoZone for safe disposal.